Friday, April 22, 2011

Tutorial: How to make a light box/ Cómo hacer una caja para tomar fotos


By
prendasbyenid

A light box is a great and useful tool to take amazing pictures at home or in any place. So useful you cannot have to wait until daylight to take pictures. This allows you to take your pictures even at 3:00am in the night. So what are you waiting for? Grab your materials and let get started!
Una caja para tomar fotos es una gran herramienta que te permitirá tomar fotos maravillosas en la comodidad de tu hogar o en cualquier otro lugar. Es tan útil que no tendrás que esperar la luz del sol para tomar fotos. Tanto así que podrás tomar fotos así sean las 3:00 en la madrugada. Así que, ¿que estas esperando? Alista tus materiales y ¡Manos a la obra!

Materials / Materiales:

A box / Caja de cartón
White sheer fabric / Tela blanca transparente
Scissor / Tijeras
Glue / Pegamento
Cardboard / Papel blanco grueso, cartulina blanca (para el fondo)

Instructions / Instrucciones:

First we have to prepare the box. Cut four (4) sides of the box; the top, the front and the two sides. Leave one inch for the border on each side and cut the rest. Don’t cut the base and the back of the box. You can use a scissor or a knife. (See pictures)
Primero hay que preparar la caja. A esta se le recortarán cuatro (4) lados, el de arriba, el frente y los lados, dejando sin recortar la parte de atrás y el fondo (o base). Para recortar mida 1" del borde de la caja y recorte el restante, lo que será el centro de cada lado. Para esto puede utilizar las tijeras o la cuchilla. (Ver fotos)


Now is time to use the sheer fabric. There are three sides that need it, the top and the two sides. Measure them and cut one piece for each side. Glue them to each side. (please note that the front of the box is open so you can take the pictures)
Estas cajas llevan en tres lados tela blanca (preferiblemente transparente o sheer). Mida los lados y la parte de arriba y corte un pedazo de tela para cada lado. Adhiera la tela con el pegamento de su preferencia. Note que el frente queda totalmente abierto, ya que será por donde tomará sus fotos.


Measure the cardboard so it’s exactly as the width of the box. This piece goes on top of the back and the base of the box but NOT BEND IT! It must have a curve. If the cardboard is too long you can bend it or cut it.
Mide la cartulina o fondo que vayas a utilizar de manera que quede al ancho de la caja. Este fondo va encima de las dos partes que no recortaste pero SIN DOBLAR, de manera que quede curvo. La parte que sobre arriba igual puedes córtala o doblarla.


Now that your box is ready you will need three lamps one for the top and one to each side. The better bulb for this is one called Ottlite, but I use Daylite bulbs and works just fine. Sometimes I just use one lamp on top of the box and it works fine too.
Ahora que su caja está hecha necesitará lámparas. La bombilla (o foco) que mejor le conviene es una llamada Ottlite, aunque yo utilizo las que son fluorecente blanca día o Daylite. Para un uso óptimo de la caja para fotografiar deberá poner una lámpara por cada lado en los que está la tela (2 lados y arriba).


Your light box is ready to use!!!
Y ya está lista para fotografiar!!!

prendasbyenid
prendasbyenid


Monday, April 18, 2011

Cooking with.../ Cocinando con...!


ArtbyRuthStuffed Jalapeños!
Jalapeños rellenos!

Stuffed Jalapeños!

Ingredients:

20 Jalapeños
salt
sugar
a can of tuna in oil

a can of tuna in water

a bar of Philidelphia cheese

4 eggs
oil
flour

Jalapeños rellenos!

Ingredientes:

20 Chiles ( Ajies ) Jalapeños
Sal
Azúcar
Una lata de Atún en aceite
Una lata de atún en agua
Una barra de queso Philadelphia
Cuatro huevos
Aceite.
Harina de trigo


First, rinse out the Jalapeños, then make an incision on one of the sides and with a tiny spoon, take out all of the seeds with caution because we don't want to rip the Jalapeño.
Primero lavamos los chiles ( ajies ), después les hacemos un corte en uno de los costados y con una cucharita sacamos todas las semillas con mucho cuidado para no romper demasiado el chile ( aji ).


Then place them in a deep pot, along with hot water, and add approximately 3-4 regular spoons of salt and leave it on the stove for around 15 minutes.
Después ponlos en una olla profunda, cubrelos con agua caliente, agrega aprox. de tres a cuatro cucharadas de sal y deja sobre el fuego por 15 minutos.


After that time's up, take them out of the salt-water, get rid of the salt-water, and rinse them out a bit, then place them again in boiling water, but this time you're going to add a big tablespoon of sugar; You're going to leave them once again on the stove for another 15 minutes, or until they take a deeper color. this process will be-rid the spiciness. If you'd like for them to be very spicy, then just boil them over water.
Pasado ese tiempo retiralos del fuego tira el agua salada y enjuagalos un poco, después vuelve a colocarlos en agua hirviente pero esta vez vas a agregar una cucharada sopera de azúcar; Los vas a dejar nuevamente sobre el fuego por otros 15 min. o asta que tomen un color mas obscuro. Este proceso les quitara lo picante. Si los prefieres muy picosos, solo hiervelos en el agua sola.


In the meantime you can open the tuna cans pour out the liquid and place the tuna into a bowl and mix them with the Philadelphia cheese.
Mientras puedes abrir y escurrir las latas de atún y después las vas a mesclar con el queso Philadelphia.


On a spread plate place a small mound of flour...

En un plato extendido coloca un puñito de harina…


In a small bowl separate the yolks from the eggs and deposit the clears into a larger bowl and stir them until you form enough foam, afterwards add the yolks and continue mixing...
En un tazón pequeño separa las yemas de los huevos y deposita las claras en un tazón mas grande y mezcla hasta formar suficiente espuma, agrega después las yemas y sigue mezclando...


By then it will be time to remove the Jalapeños from the stove, take them out of the water, drain them well and begin stuffing them with the tuna and phili, secure them them with a toothpick and cover them with a bit of flour. In the meantime, heat up enough oil in a pan, or a deep-fryer if you have one at hand, it will be easier with one, and faster.
Para entonces será tiempo de retirar los chiles ( ajíes ) del fuego, quitalos del agua, escurrelos bien, y comienza a rellenarlos con el atún con phili, aseguralos con un palillo de dientes y después cubrelos con un poco de harina. Mientras preparas los chiles (ajíes ) pon a calentar suficiente aceite en una sartén, si tienes una freidora será mas fácil y rápido.


Dip them in the egg, the purpose of the flour is so the egg will adhere enough to it...
Sumerjelos en el huevo, la función de la harina es para que el huevo se adhiera lo suficiente...


Immediately place them in the hot oil and leave them there for about 1-2 minutes, or until the egg is well cooked. if you use the deep-fryer it will only be a few seconds, it will take longer on the pan. if this is the case the approximate amount of oil will be 1 cup.

Inmediatamente colocalos en el aceite caliente y dejalos ahi aprox. uno o dos minutos, o hasta que el huevo este bien cocido. Si utilizas la freidora será cosa de segundos, en la sartén tardara un poco mas, si este es el caso la medida del aceite sera de una taza aprox.


This is how they end up looking in the end, you may accompany them with Mexican style rice or alone on a hot tortilla, the way you can enjoy them I will leave to your imagination. :)
Así es como quedan al final, los puedes acompañar con un arroz muy mexicano o solitos en una tortilla calientita, la manera de disfrutarlos se lo dejo a tu imaginación :)


Friday, April 15, 2011

The Winner of our April Giveaway is.../ El ganador del giveaway del mes de Abril es…

April Giveaway ended yesterday with a total of 126 entries!
El Giveaway de Abril terminó ayer con un total de 126 puntos.

Here are the participants, the entries and the numbers that they got:
Aquí está la lista de los participantes, sus entradas y los números que recibieron:


va ( 3 entries ) 1-2-3
Diana Dang ( 2 entries ) 4-5
karla camille foronda ( 2 entries ) 6-7
Jel ( 4 entries ) 8-9-10-11
Kat ( 2 entries ) 12-13
Cheeky Jewels by Sonja ( 4 entries ) 14-15-16-17
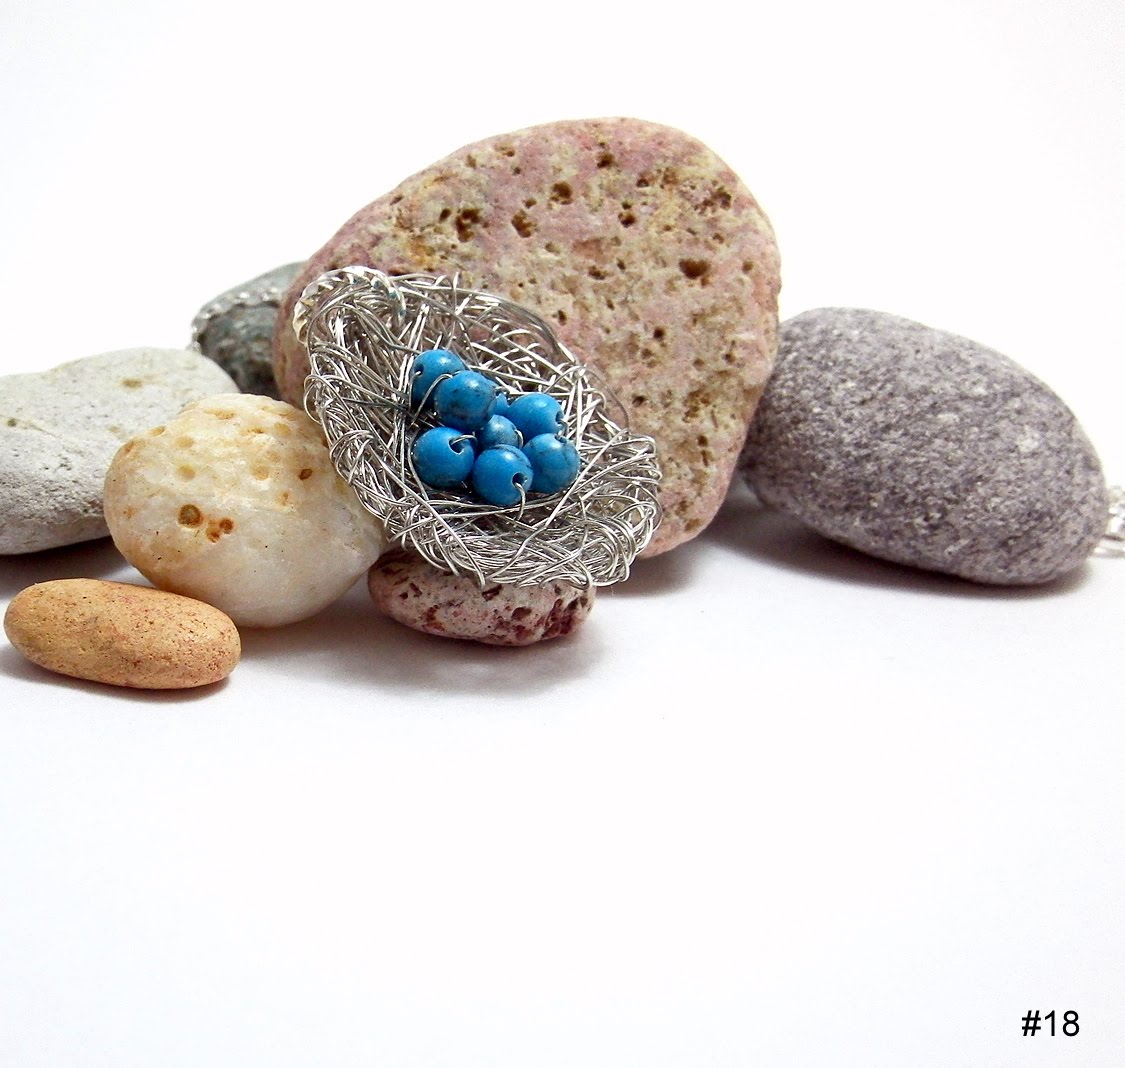
Kutz ( 1 entry ) 18
Alejandra Danel ( 3 entries ) 19-20-21
Amber ( 2 entries ) 22-23
Shilo Beedy ( 1 entry ) 24
Mary Lee ( 3 entries ) 25-26-27
Karen ( 2 entries ) 28-29
Monik ( 3 entries ) 30-31-32
Marta ( 1 entry ) 33
Monik ( 1 entry ) 34
Marta ( 1 entry ) 35
Jules ( 2 entries ) 36-37
Katarzyna ( 3 entries ) 38-39-40
Jacqueline ( 1 entry ) 41
Mary ( 2 entries ) 42-43
ninajoleisa ( 2 entries ) 44-45
gustosa giveaways ( 4 entries ) 46-47-48-49
jc ( 2 entries ) 50-51
CHONG ( 2 entries ) 52-53
ligata ( 2 entries ) 54-55
Dovile ( 2 entries ) 56-57
Diana ( 4 entries ) 58-59-60-61
MoonRae ( 2 entries ) 62-63
deanna ( 3 entries ) 64-65-66
Melody ( 2 entries ) 67-68
Ista ( 1 entry ) 69
oksana ( 4 entries ) 70-71-72-73
Nicola B ( 2 entries ) 74-75
Yuliya ( 4 entries ) 76-77-78-79
Anika ( 2 entries ) 80-81
viorela ( 4 entries ) 82-83-84-85
imasupergirl ( 3 entries ) 86-87-88
Aik ( 2 entries ) 89-90
Mona ( 2 entries ) 91-92
tearyeyedstars ( 4 entries ) 93-94-95-96
Brooke ( 2 entries ) 97-98
Nakipa ( 2 entries ) 99-100
nettymownetty ( 1 entry ) 101
hofken ( 1 entry ) 102-103-104-105
avatarlady ( 3 entries ) 106-107-108
caty ( 4 entries ) 109-110-111-112
Lee ( 2 entries ) 113-114
Ingrid ( 4 entries ) 115-116-117-118
Katherine S. ( 2 entries ) 119-120
SETexasMama ( 4 entries ) 121-122-123-124
Baby Mama ( 2 entries ) 125-126

And the winner is…
Y el ganador es…

Number 11
Número 11


So our lucky winner is number 11 ---------> Jel
Nuestra feliz ganadora es Jel con el número 11

Congratulations and enjoy your new beautiful necklace from MorningBlossom's Store!
Felicitaciones y disfruta tu nuevo collar de la tienda de MorningBlossom!

Thank you so much for your participation!
Muchas gracias por la participacion!

We are going to have another great giveaway in May!
Para el mes de Mayo vamos a tener otro fantastico giveaway. No te lo pierdas!

Etsy Latino Team!

Friday, April 8, 2011

Studio City!

By
tantancharms

Since October 2009 I’ve been living in Studio City, a district in the San Fernando Valley region of the city of Los Angeles, California, United States. Studio City owns its name to the T.V studios in the area, specially CBS Radford Studios. True to the city’s name, many residents work in film, television and media.
Desde Octubre del 2009 he estado viviendo en Studio City, un distrito en la región del Valle de San Francisco de la ciudad de Los Angeles, California, Los Estados Unidos. Studio City le debe el nombre a los estudios de televisión en el área, especialmente CBS Radford Studios. Como lo indica su nombre, muchos residentes trabajan en las películas, la televisión o el cine.


Studio City is a lovely place to live. It has many parks and green areas, restaurants (the best sushi!) and cafes. It also has great bookstores, small art gallerias and theaters. The Sunday morning Farmer’s Market is a must for residents. I try to spend as much time as I can outside, enjoying the gorgeous Southern California weather with my little boy.
Studio City es un gran lugar para vivir. Tiene muchos parques y áreas verdes, restaurantes (el mejor sushi!) y cafes. Tambien tiene muy buenas librerías, pequeñas galerías de arte y teatros. El mercado de granjeros de los domingos es visita obligada de los residentes de la zona. Yo trato de pasar el mayor tiempo posible afuera, disfrutando del increíble clima del sur de California con mi niño.


A great part of living here is that you never know what famous person you might meet. The neighbor I’d love to encounter is George Clooney but you could also see William Shatner or Eddie Van Halen.
Una de las ventajas de vivir aqui es que nunca sabes a que famoso puedes encontrar. El vecino que me gustaría conocer en George Clooney pero podrías también ver a William Shatner o Eddie Van Halen.

Friday, April 1, 2011

April Giveaway!


By
MorningBlossom
Lucky in Happiness necklace!

MorningBlossom in giving away one Lucky Star Necklace, you choose the color!! Check out her shop to find out the different meanings behind each color of silk cord!!
MorningBlossom esta regalando un collar Lucky Star, tu eliges el color!! Visita su tienda para saber el significado detrás de cada color de hilo de seda.

April Giveaway starts today Friday 1st until the 14th of April. We will announce the winner, Friday the 15th of April.
Abril Giveaway comienza hoy Viernes 1ro de Abril hasta el 14 de Abril. Anunciaremos el ganador el Viernes 15 de Abril.

- Rules that you have to follow to win this Lucky Star Necklace

- You must be a follower ( Follow our Blog) ------> ( one entry )

- Go to MorningBlossom's store : MorningBlossom and tell us what do you like from there and copy the http code of that item :)-------> ( one entry )

- Promote our giveaway on:
- Twitter -------------> ( one entry )
- Facebook -----------> ( one entry )


Reglas que tienes que seguir para poder ganarte este hermoso collar.

- Tienes que seguir nuestro blog ------> ( un punto )

- Visita la tienda de MorningBlossom: MorningBlossom y dinos que artículos te han gustado mas. Regresa aqui y en tu comentario no te olvides de poner el codido del http del producto favorito que has seleccionado. --------> ( un punto )

- Promociona nuestro giveaway por:
- Twitter ------------> (un punto )
- Facebook ---------> ( un punto )


- Please don't forget to leave in your comment your email address to contact you if you are the lucky winner!
- Por favor no te olvides de dejar la dirección de tu correo electrónico en tu comentario para poder contactarte si llegaras hacer el feliz ganador.

- Worldwide giveaway!

- Anyone, except team members can participate.
- Todo el mundo puede participar excepto miembros del team.


Good Luck everyone!
Buena suerte para todos!

Related Posts with Thumbnails '